Hi guys,
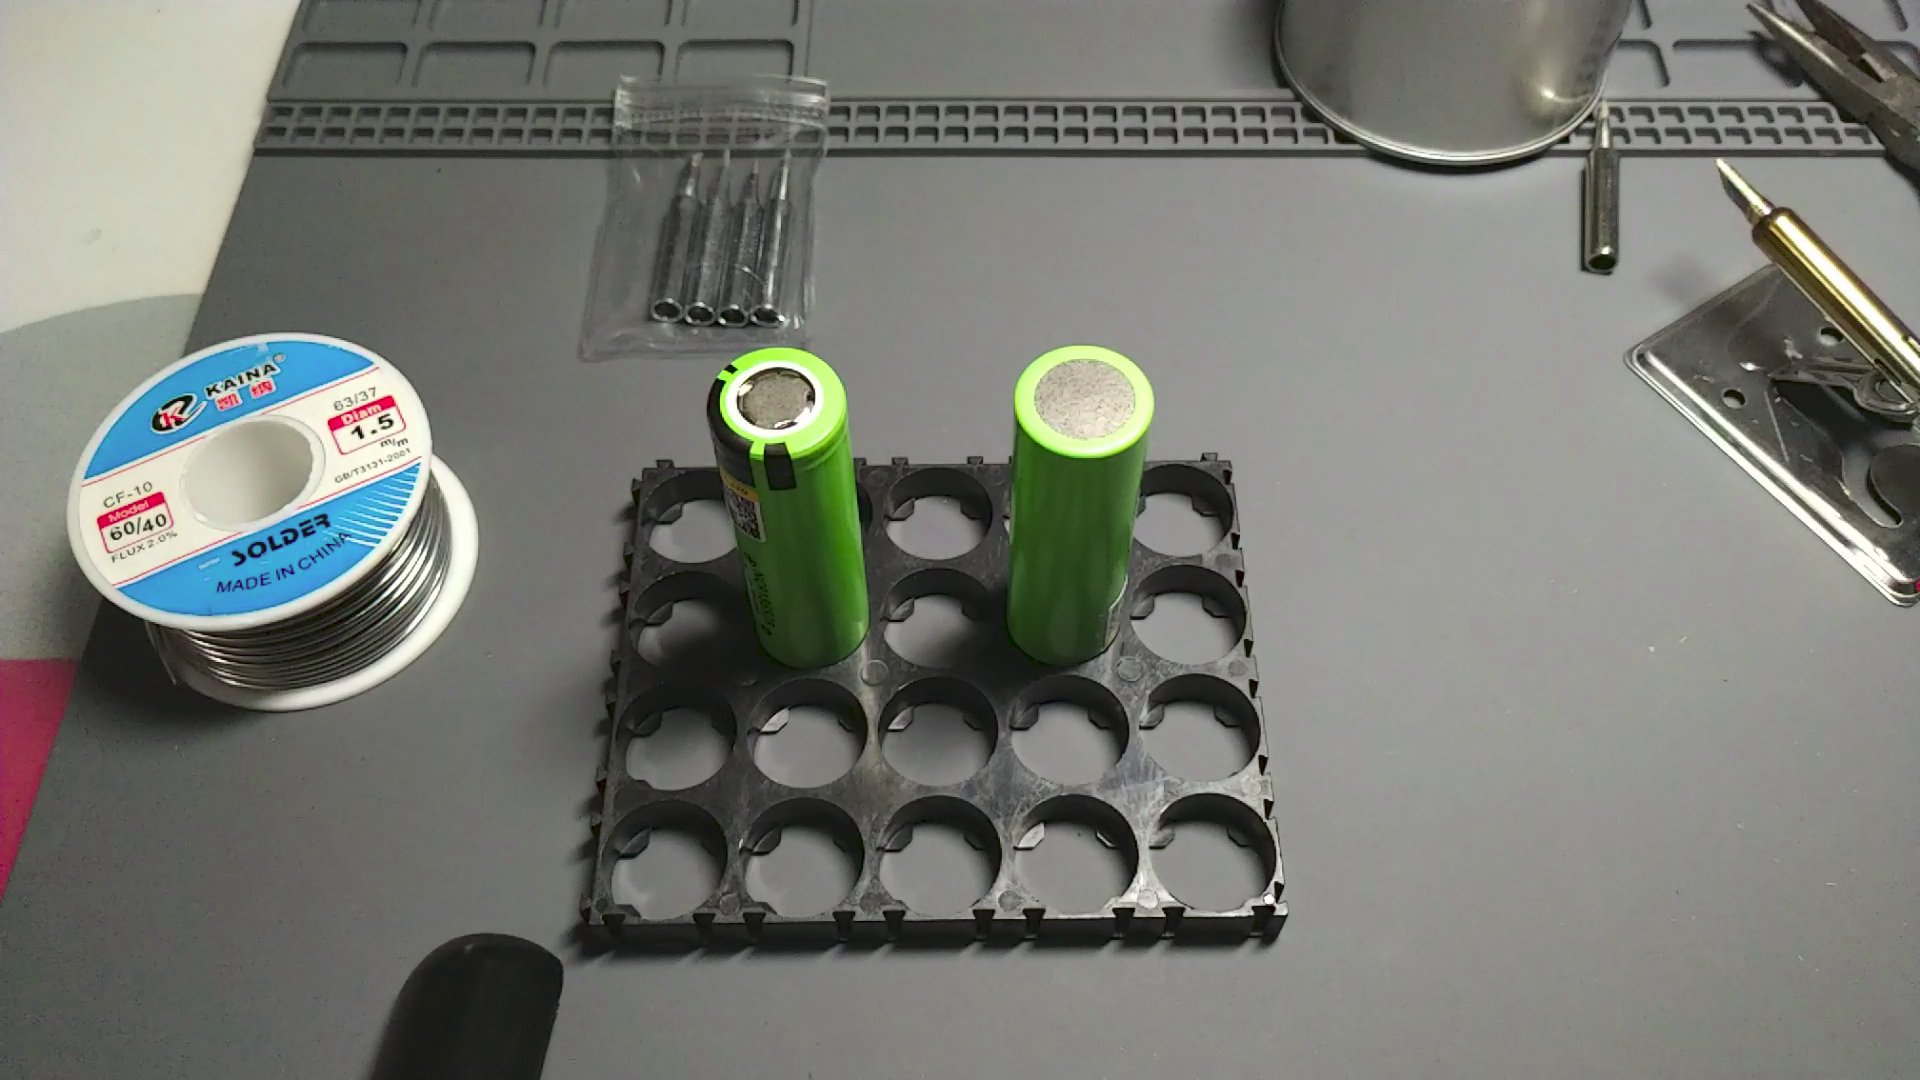
In this entry we will try to explain how you can weld 18650 batteries with tin very simple and quickly.
Remember, these 18650 cells are lithium, among their “defects” is the temperature. These cells degrade with heat, and can even become completely damaged if we pass.
That is why it is very important that we perform tin welding as quickly as possible.
How do we get welding quickly? Very simple: with the right material and following a few small tricks.
The most important thing is to use a welder that provides us with a high temperature, since what happens when welding the cells, which is when contacting the soldering iron with the cell surface, lowers the temperature and the tin does not adhere properly. It produces the typical tin drop effect that is slightly glued to the surface but scratching a little easily peels off.
I recommend the welder we tested in another entry: Shenzhen 80W Tin Welder. I also leave you the link to buy it on aliexpress: buy the Shenzhen tin welder
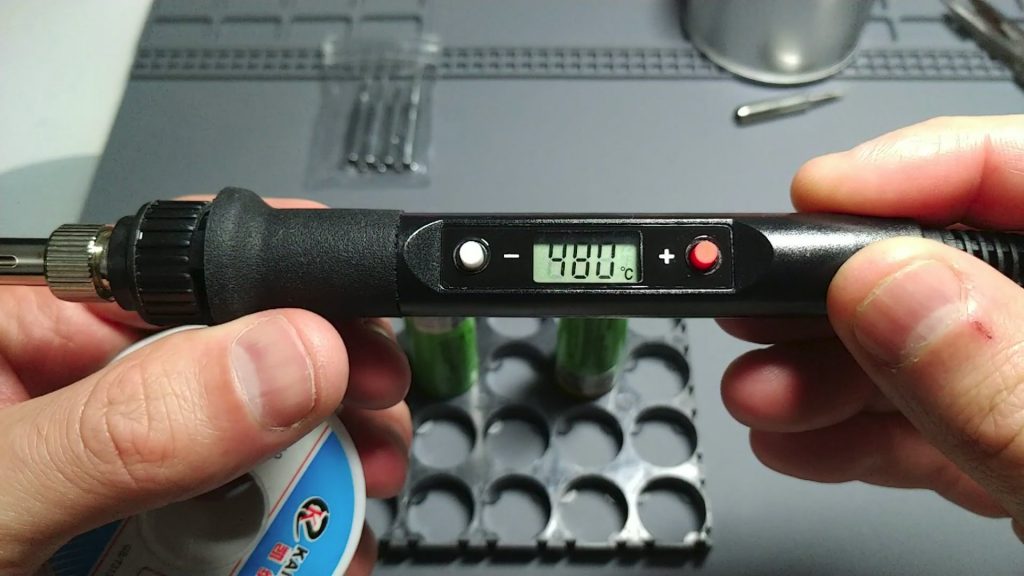
I leave you a photo, where you can see how I set it to maximum temperature, which are 480º C:
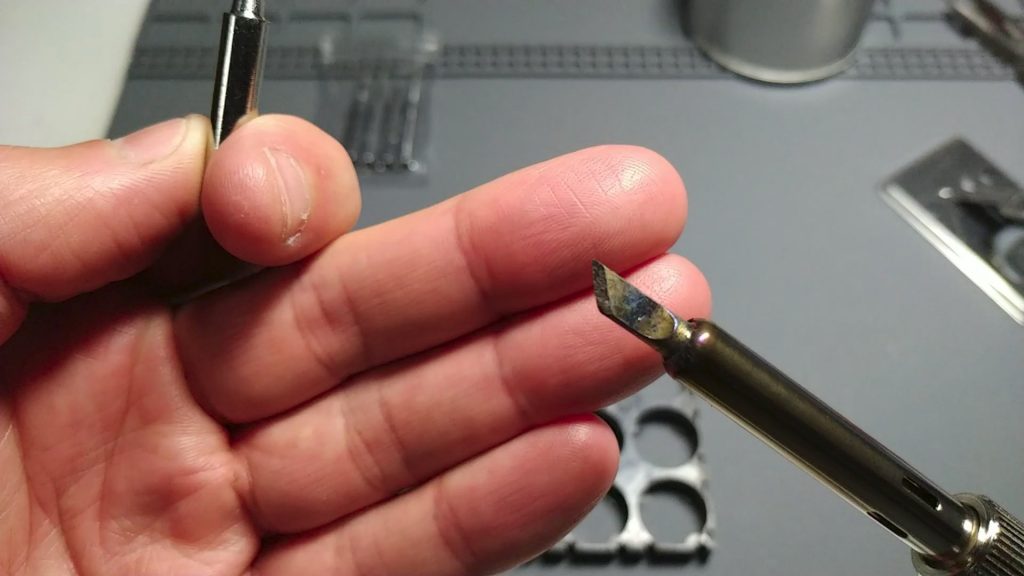
Another important point is the tip that you have to use in the soldering iron. It is important that it is large, so that it accumulates more heat and does not descend so much when contacting the cell. My recommendation is that you use the K-type tip, which is quite large and flattened. If you buy the welder that I recommend, you have the option to buy it together with a kit that includes this tip. In the following screenshot I show you what it is:
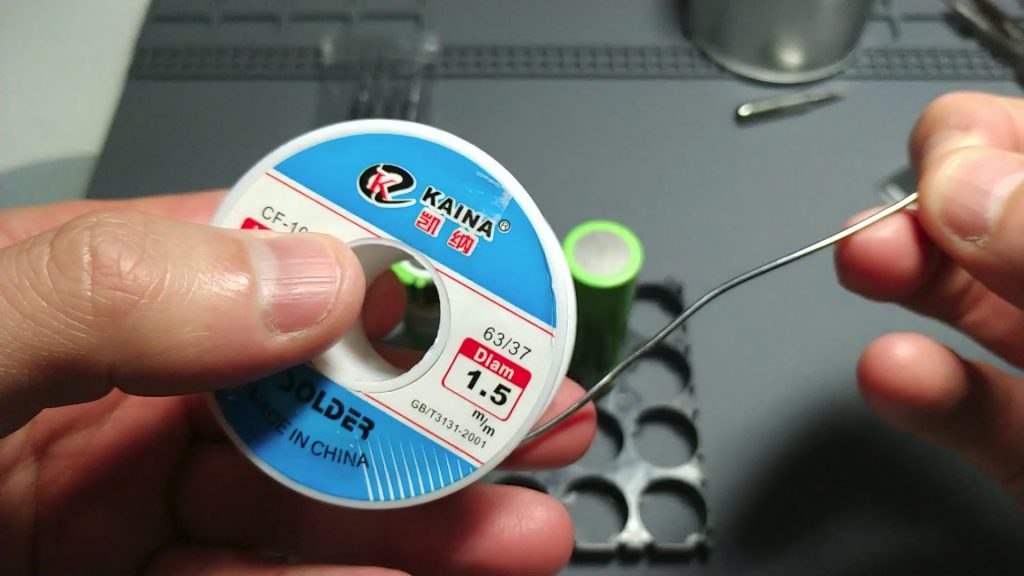
The tin you should use is also important. If you have a slightly higher proportion of lead better, as it adheres more easily.
My recommendation is to use the tin I teach you in this entry: Kaina brand tin. I also leave you the link to buy it in aliexpress: buy tin to weld from Kaina. Of course, it is not the cheapest tin, much less, but it is worth it as it works very well:
There are people who add flux to the cell before welding it. Be careful with flux because is corrosive, and end up generating oxides and damaging the cell. If you use the material I indicate, you will not need to use flux.
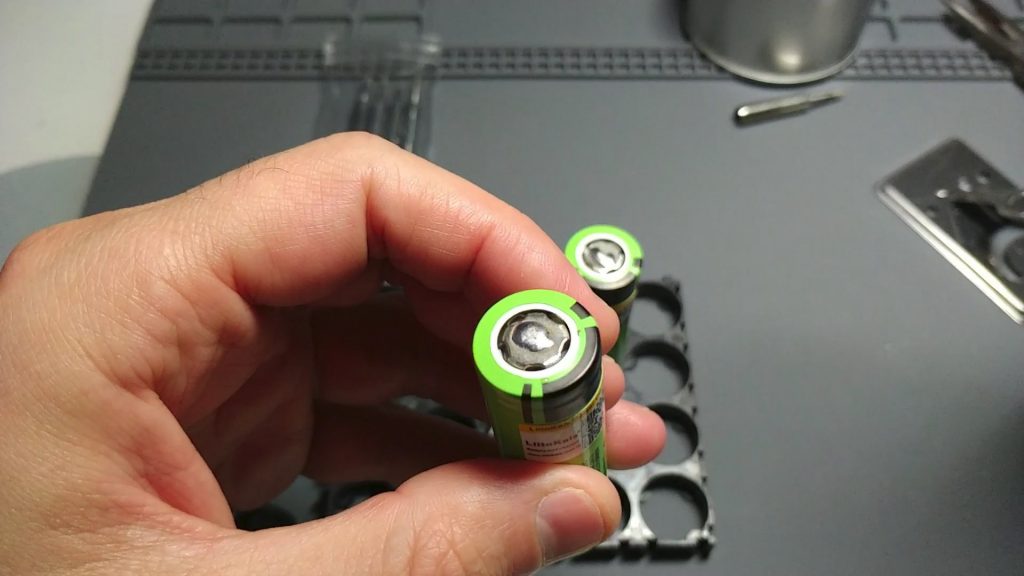
In just 2 seconds the tin remains perfectly attached to the cell surface. When this happens it is clearly appreciated. The tin expands along the surface of the cell, it does not look like a ball.
The first thing I do is put some tin on the tip of the soldering iron. This way, when we put the soldering iron in contact with the cell, the tin will make the heat better transmitted to the cell surface.
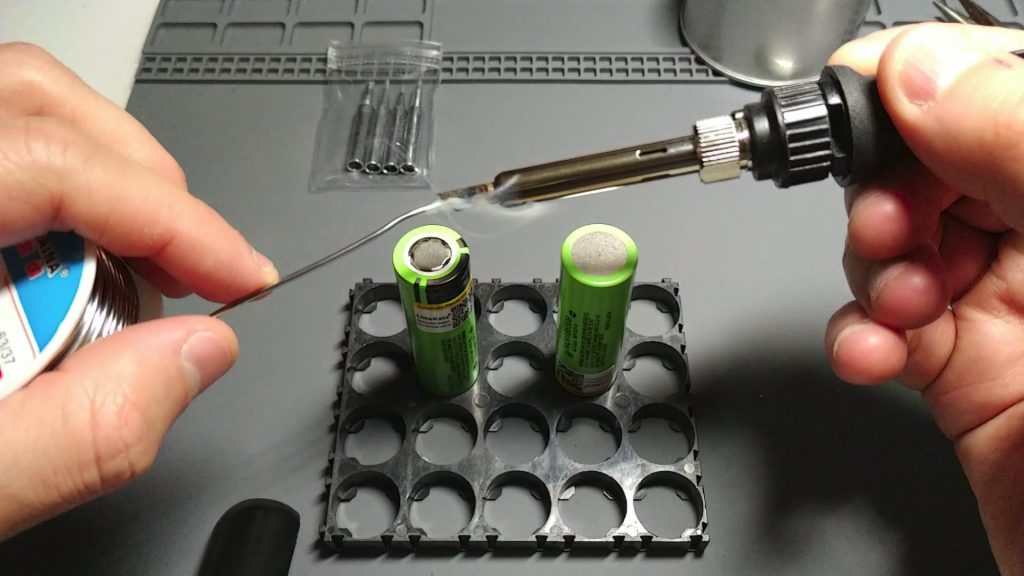
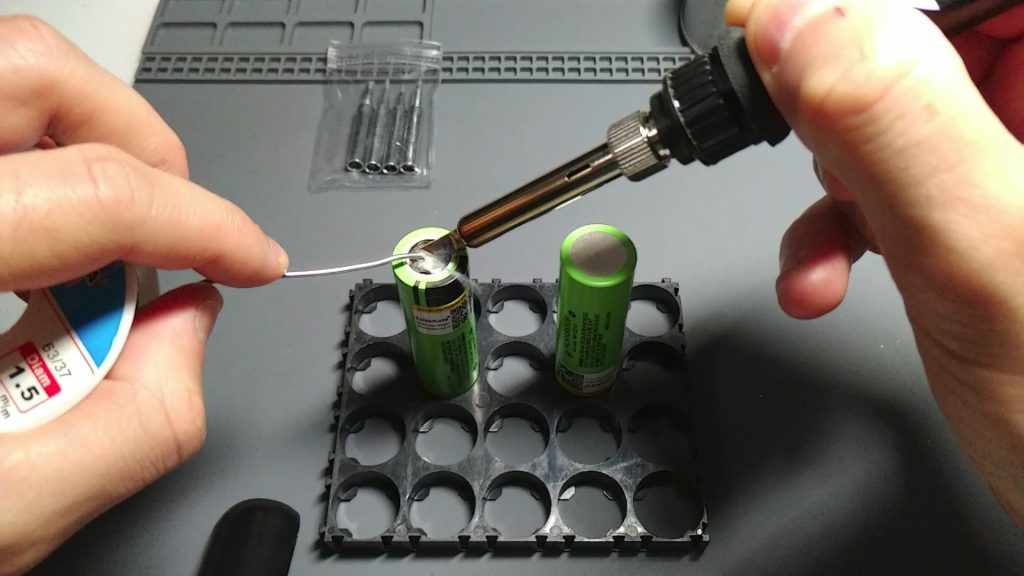
Once we have the tip with some tin, the next step is to place it on the cell surface and wait an instant for the surface to reach some temperature. It depends on the power of each soldering iron, it will take more or less time. In this case, it is only necessary 1 second. Then we’ll apply tin at the tip of the soldering iron, and wait for it to expand across the cell surface:
As can be seen in the following image, the tin is perfectly spread across the cell surface, indicating that it has been welded correctly:
It is very important that you get the tin to adhere to the cell on the first attempt, and do not repeat the operation several times, since the cell will accumulate more and more temperature, and can damage it (I tell you from my own experience). If you are not able, it is better to wait for the cell to cool down to try again.
I’m working on a video so you can see how fast you get to weld an 18650 battery by following these little tricks.
I hope it helps.
See you at the next entrance. Best regards!