Hi guys,
This will be the first of several entries in which I will try to build a DIY Powerwall with 18650 chinese cells (from aliexpress). We’ll use Liitokala’s NCR18650B cells.
Powerwall Capacity
In this case we will try to build a Powerwall of approximately 10KWh nominal with 18650 chinese cells, specifically the NCR18650B of Liitokala. For a small house I consider that 10KWh may be sufficient (in my case, I have a daily consumption of 5-6 KWh).
Powerwall Features
When designing a photovoltaic installation, it is up to decide which input voltage the inverter will work with. Normally there are inverters that support 12, 24 or 48V input.
Considering that we want a 48V powerwall, we build a battery made up of 14 series of 60 cells each serie (a total of 840 cells, which are not few). In this case, the cells are 3,400mA, so we will have a total nominal capacity of: 840 cells * 3.4A * 3.7V x 10567Wh x 10.5KWh.
It is also important to determine how many watts we want to load from the battery, because that can condition the size of the battery. In my case, I will load up to 5000W, therefore we need to calculate how many amps will be extracted from each cell, to determine if it is a correct sizing. To do this we must divide the 5000 watts that we want to load, between the volts of the powerwall and between the number of cells of each pack: 5000W/48V/60 cells = 1.73A per cell. It’s a reasonable amperage for these cells, but we don’t have to go much further either. We must be aware that if we want to extract more power from the powerwall, it would be advisable to do so of a greater capacity, so as not to extract more than 2A per cell in any case. We do this to extend the life of the cells, not because they explode or anything like that. The manufacturer of these cells determines that they can be discharged up to 2C (2 times their Capacity Ah, that is to say 2×3.4Ah = 6.8A maximum discharge). As you can see, we leave a lot of margin, but as I told you, the less we stress the cells, the less degradation they will have.
It is also important to remember, that even if the powerwall is 10.5KWh nominal, we will not use its full capacity. We will only use between 50-70% of the capacity reduce degradation.
Testing cells 18650
We’ll start by testing the cells we’re going to use. We must do this whether we use new cells (chinese or original) or recycled cells. We will measure the capacity they have and their internal resistance and make a record of each cell. For the tests we will use the Opus BT C3100. You can see more in detail how to perform a test in Liitokala cell NCR18650B capacity test.
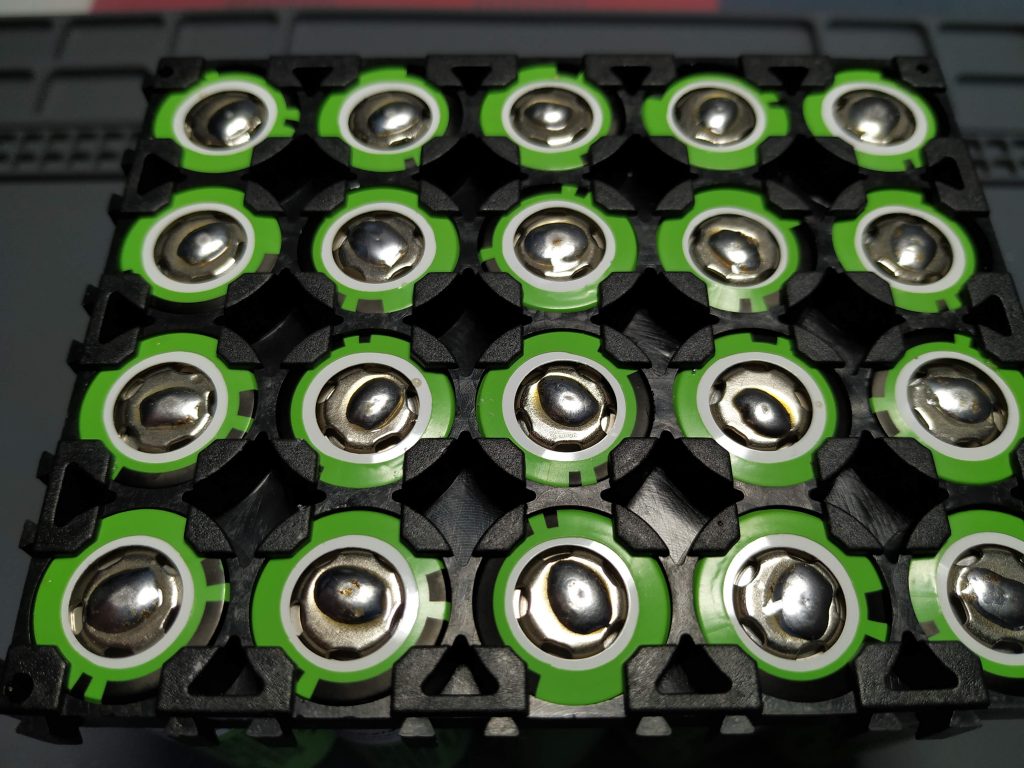
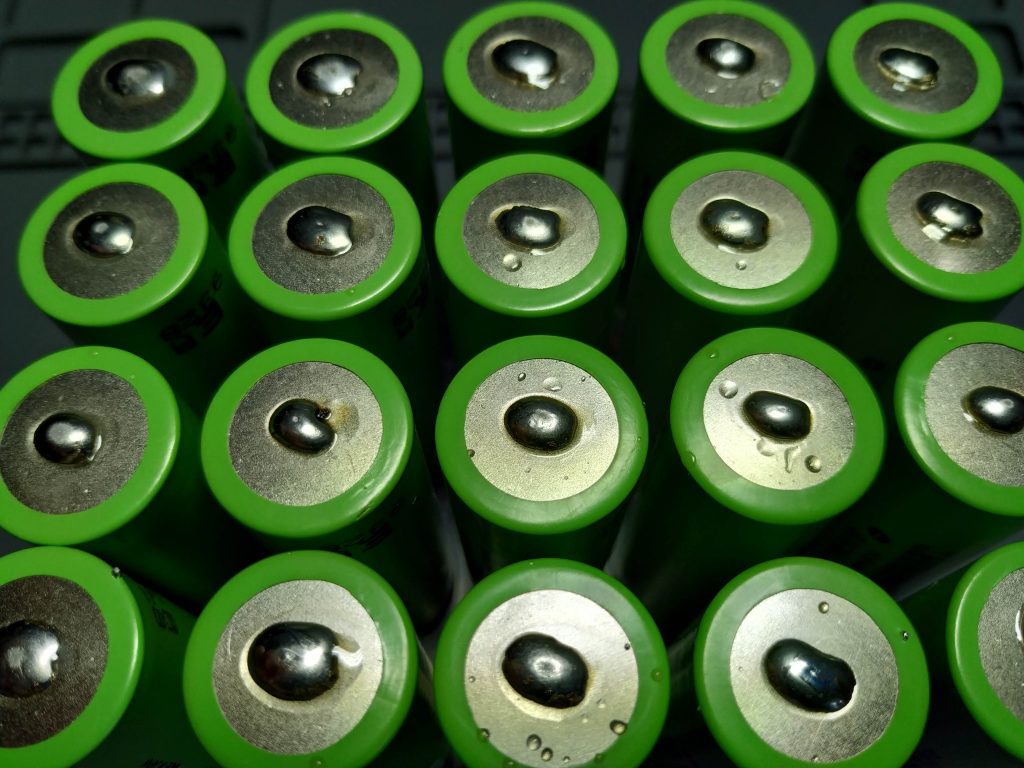
Before I test the cells, I’m going to apply tin to both poles. In this way we leave them ready for when we assemble them, and if any damage, we would detect it in the tests and we could discard those cells. I recommend you check the entrance where we explanin how to weld 18650 battery with tin.
After performing the tests with OPUS, we will leave the cells loaded to the maximum for two weeks. After this time, we’ll check if they’ve lost load. This will be the last test before moving on to assemble the battery.
I leave you links where you can buy all the material that I have used:
- Tin welder: Shenzhen 80W tin welder
- Tin: Kaina brand tin
- Cells:
- For orders up to a maximum of 6 cells: NCR18650B Liitokala
- For larger orders, up to 20 units: pack NCR18650B Liitokala
- Cell Tester: Opus BT C3100
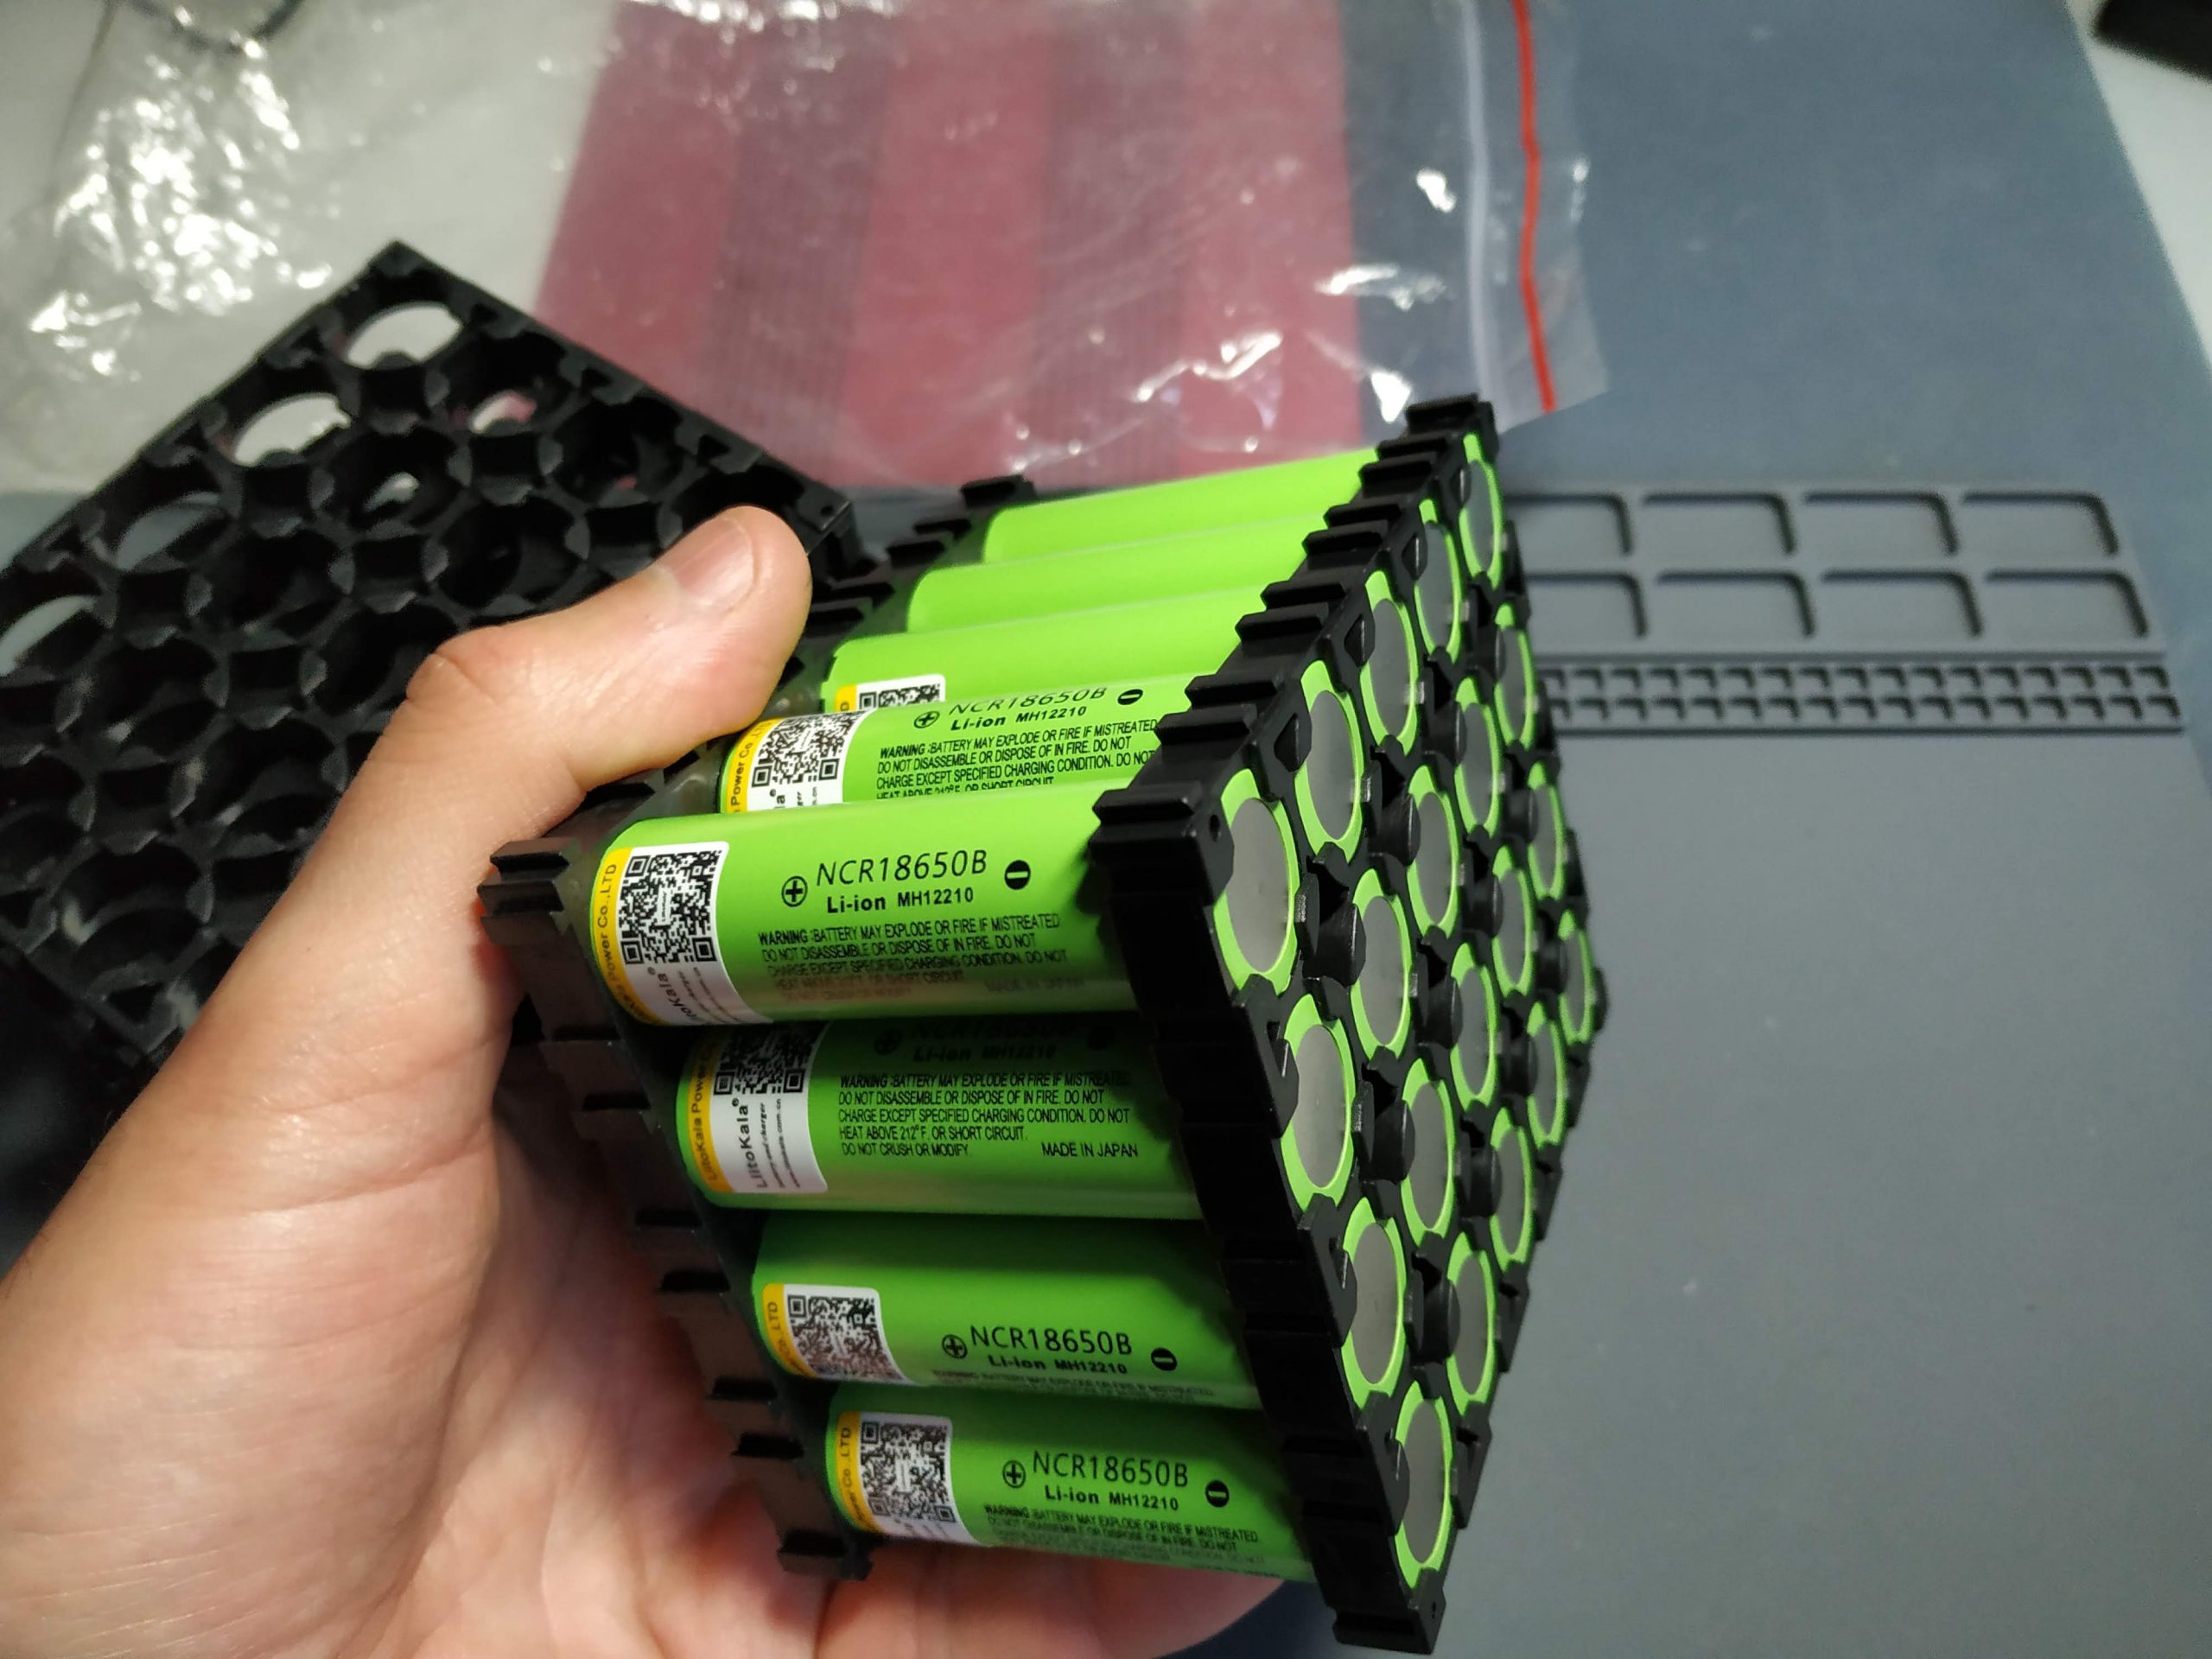
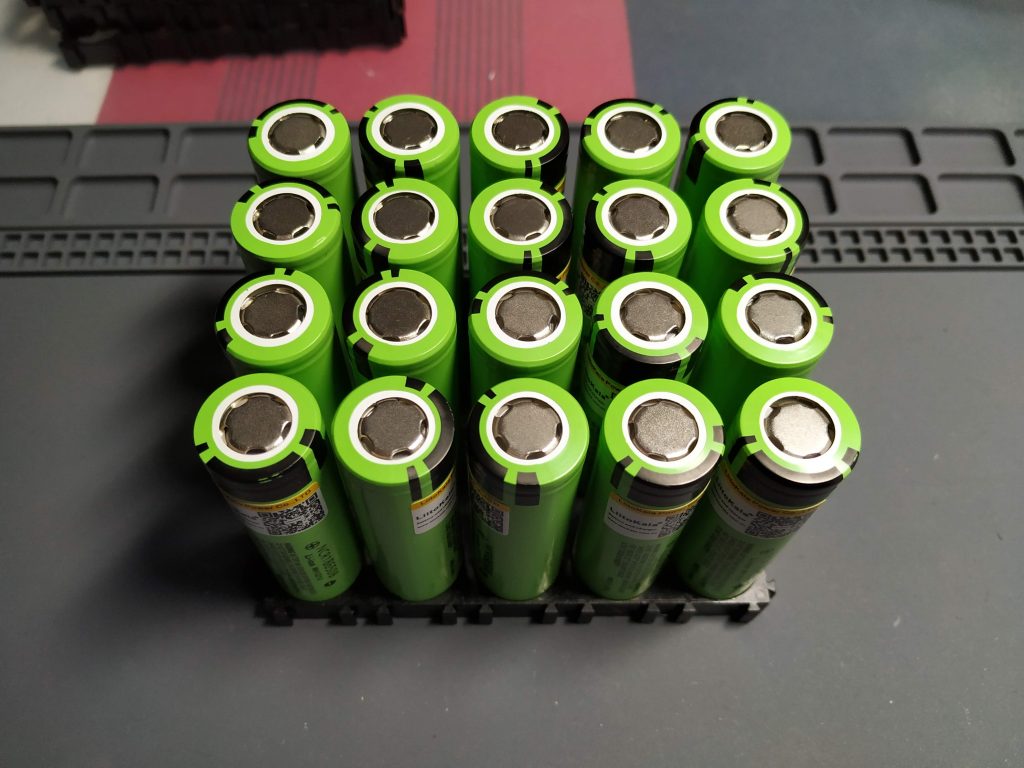
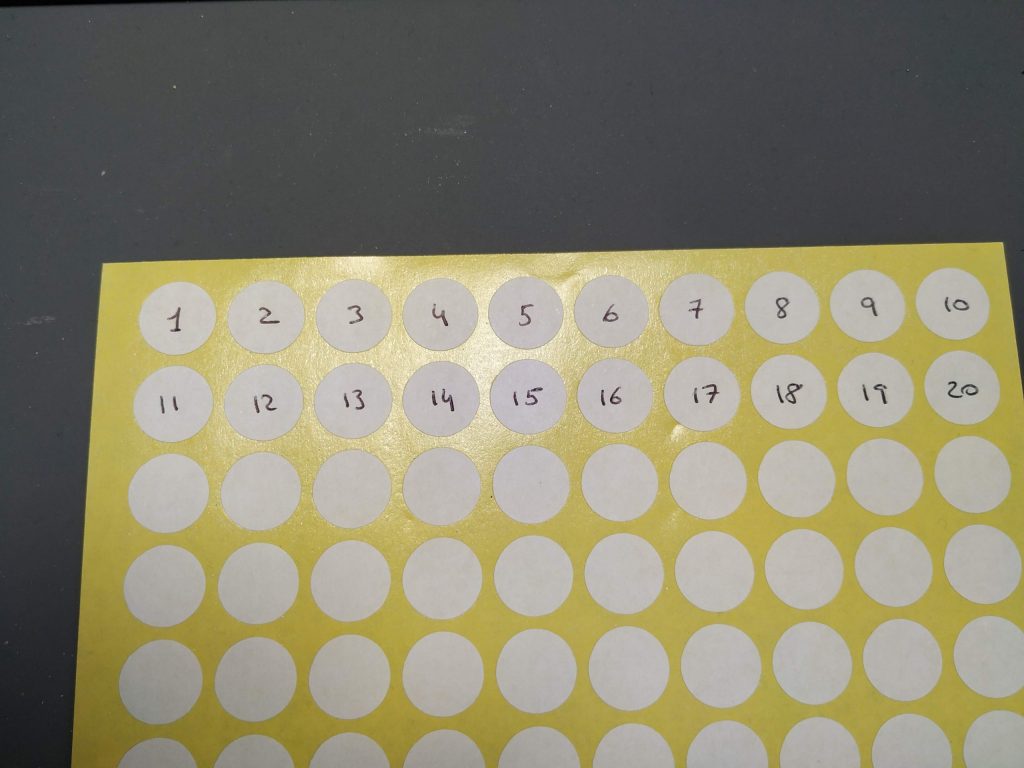
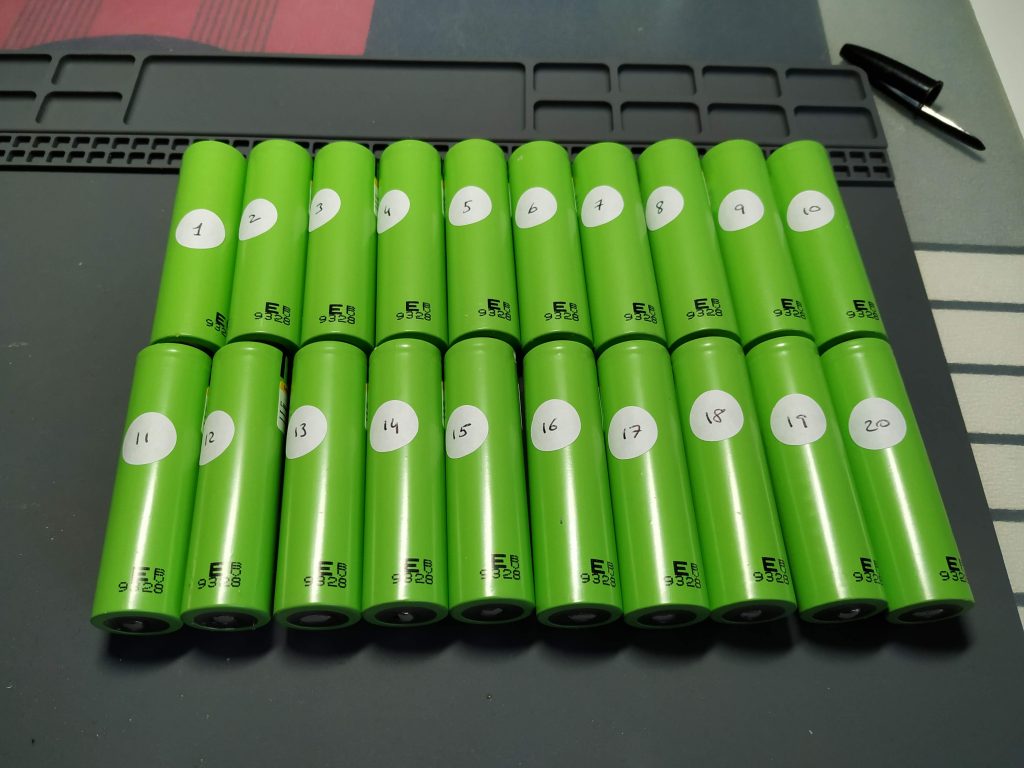
Let’s take some pictures:
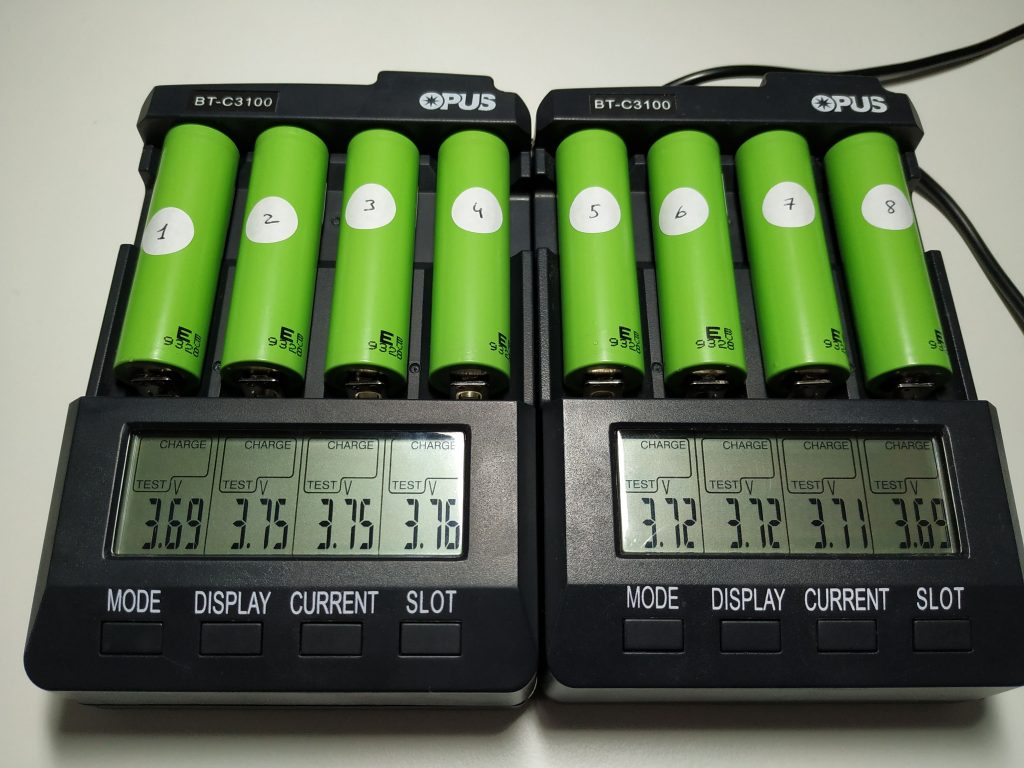
Once ready, they are ready to pass the internal capacity and resistance test. I leave you some photos of the Opus in the test:
We will repeat this procedure with all cells. It takes quite a while to perform, but it’s worth it.
Test results
I’m going to show you a photo of the first batch of cells tested with OPUS:

Considering that the cells are taken out of the same box, I am struck by the difference between what the OPUS marks on the left and the right. There is a difference of approximately 100mA between them (3%). For the test we are not too concerned, it is simply to validate that the cells are ok and that they have no defects. Anyway, I’m going to number the OPUS to record with which the test was done to each cell.
Now I show you another photo where you can see the voltage difference to which the cells leave each OPUS:
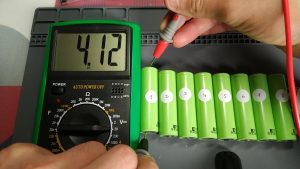
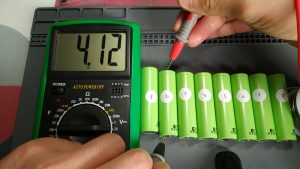
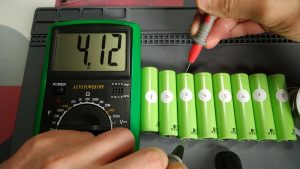
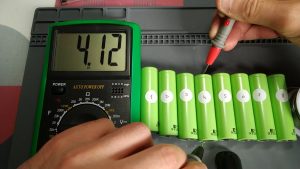
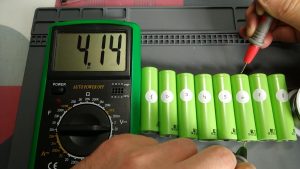
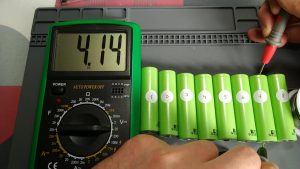
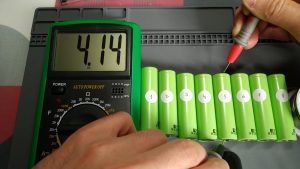
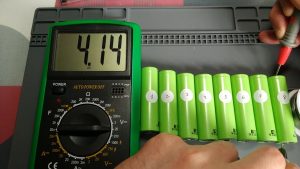
As can be seen, the OPUS that calculates a lower capacity of the cells, also leaves them with a lower voltage (leaves them at 4.12V and the other OPUS at 4.14V). As I mentioned earlier, we are not concerned about the slightest.
Results table
Here’s the excel with the first data:
We will continue to update the excel with the data for upcoming tests.
In the next entry we see how to prepare the brackets to assemble the cell pack. We also installed the bus bar on the stands. You can access in the following link: DIY Powerwall (prepare the holders)
Any questions, leave it in comments.
See you at the next post. Best regards!